What is TryHackMe?#
TryHackMe (or THM for short) is a mostly free (will come back to this shortly), online platform designed for learning cybersecurity, with a focus on hands-on exercises. It has pre-built learning pathways depending on your security knowledge and what path you’d like to explore in cybersecurity. Each learning pathway has a set of rooms, which are essentially short learning sessions focused on security topics, tools, or capture the flag (CTF) events.
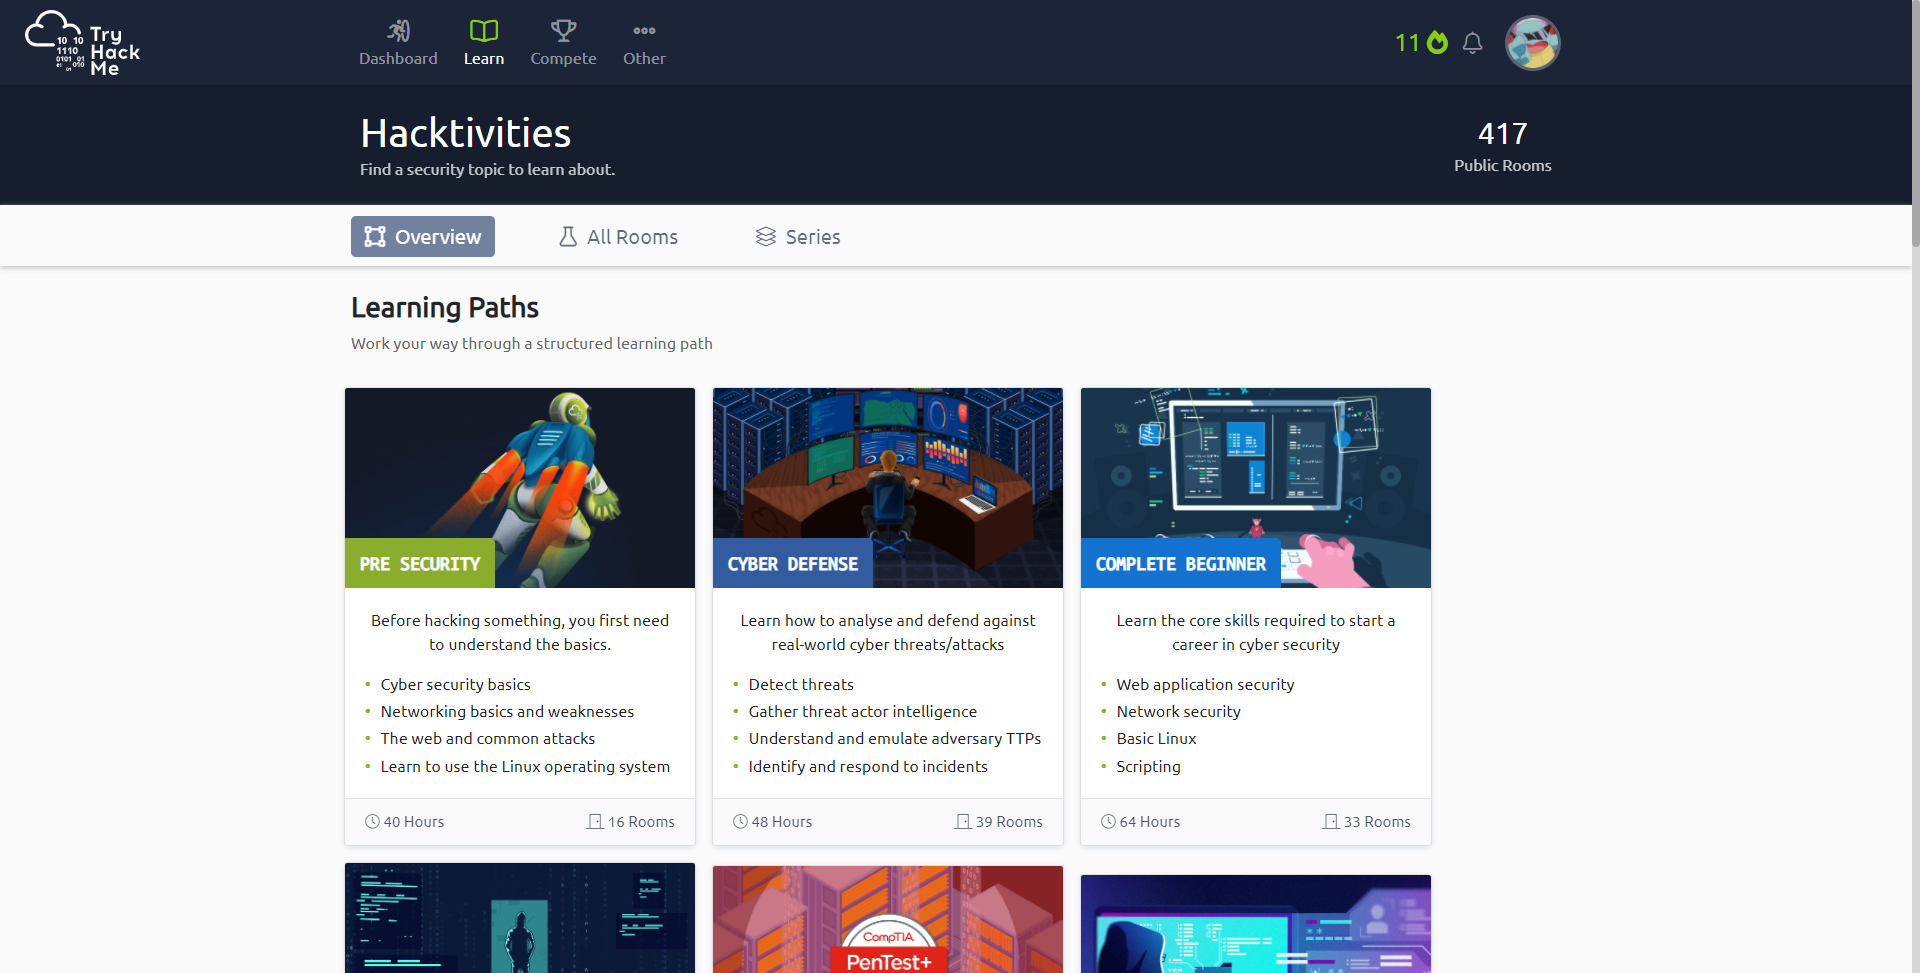
THM Learning Paths
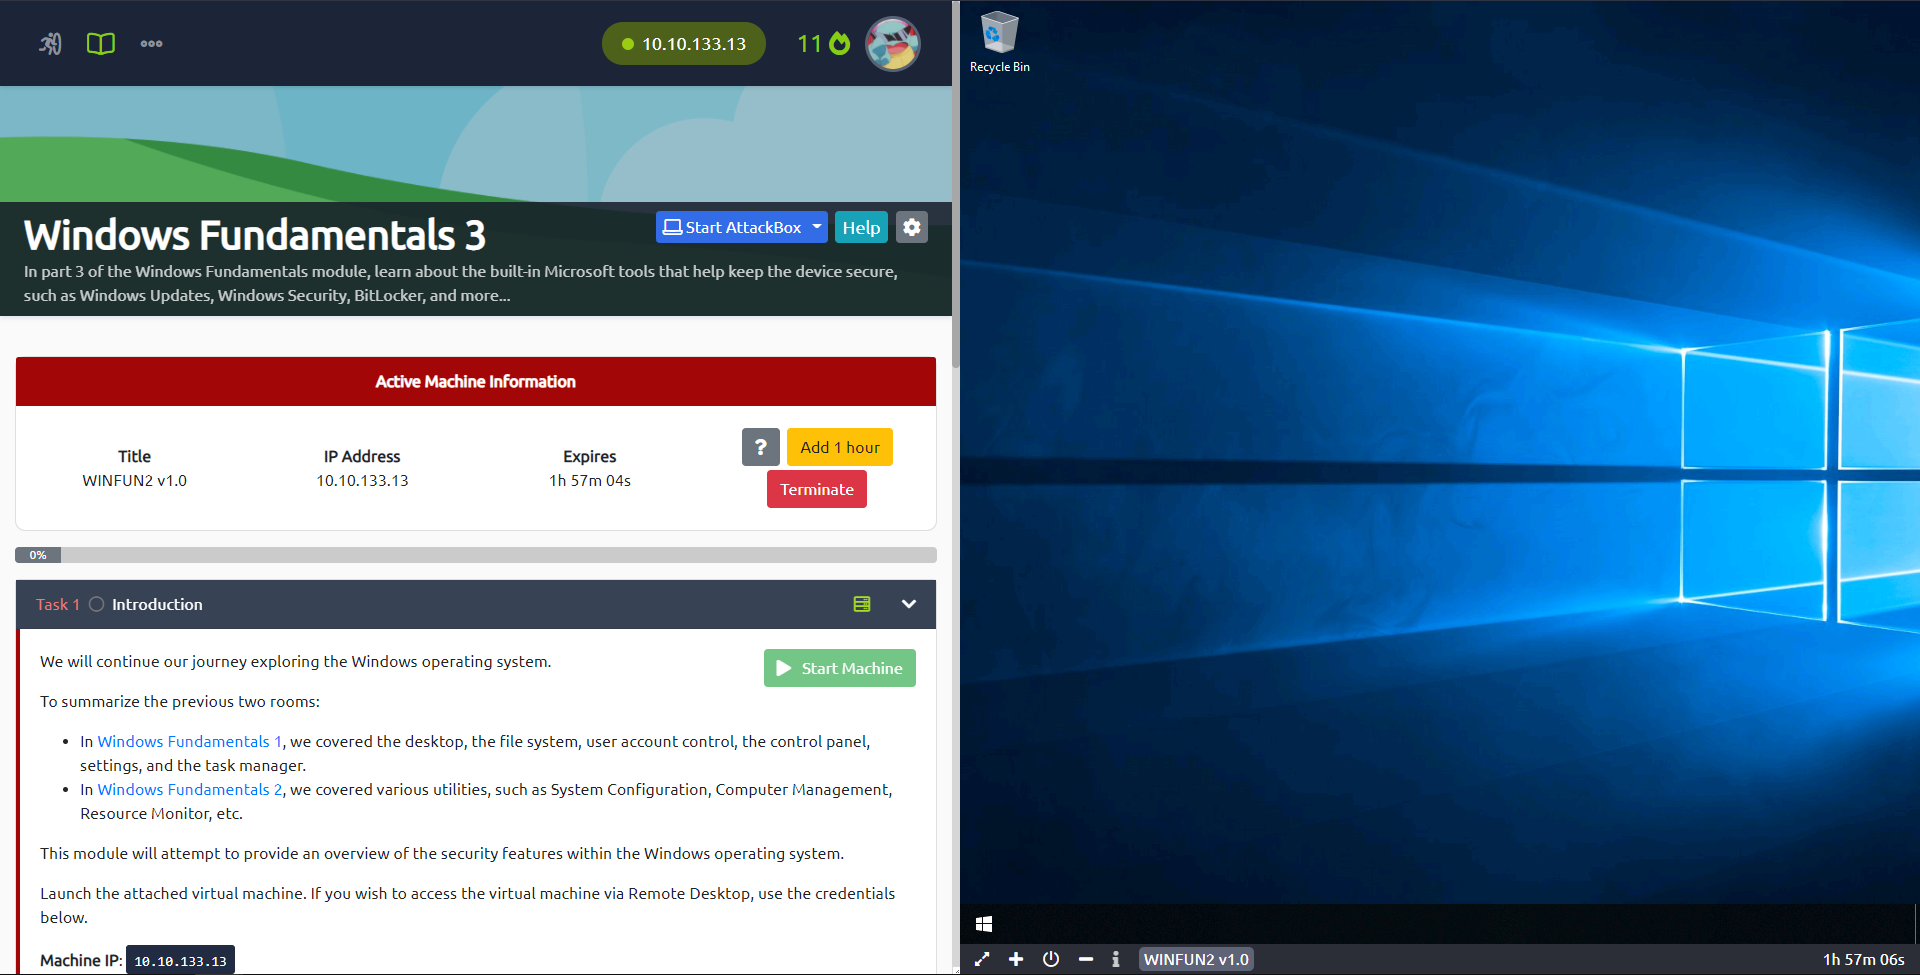
The main selling point of TryHackMe is the THM AttackBox. It’s a virtual, private server that can be accessed directly through the browser, right beside the course content, as pictured below. The AttackBox is a Kali Linux machine, a version of Linux already outfitted with most of the security tools needed for penetration testing and simulation, so that you can get to hacking right away without needing to set up anything. The only catch is that AttackBox can only be used for an hour a day if you’re a free member. If you’re subscribed to the website (only £10.00 a month), you have unlimited access to it (among other premium features). It’s a pretty sweet deal, and I subscribed to TryHackMe within a week of first using it.
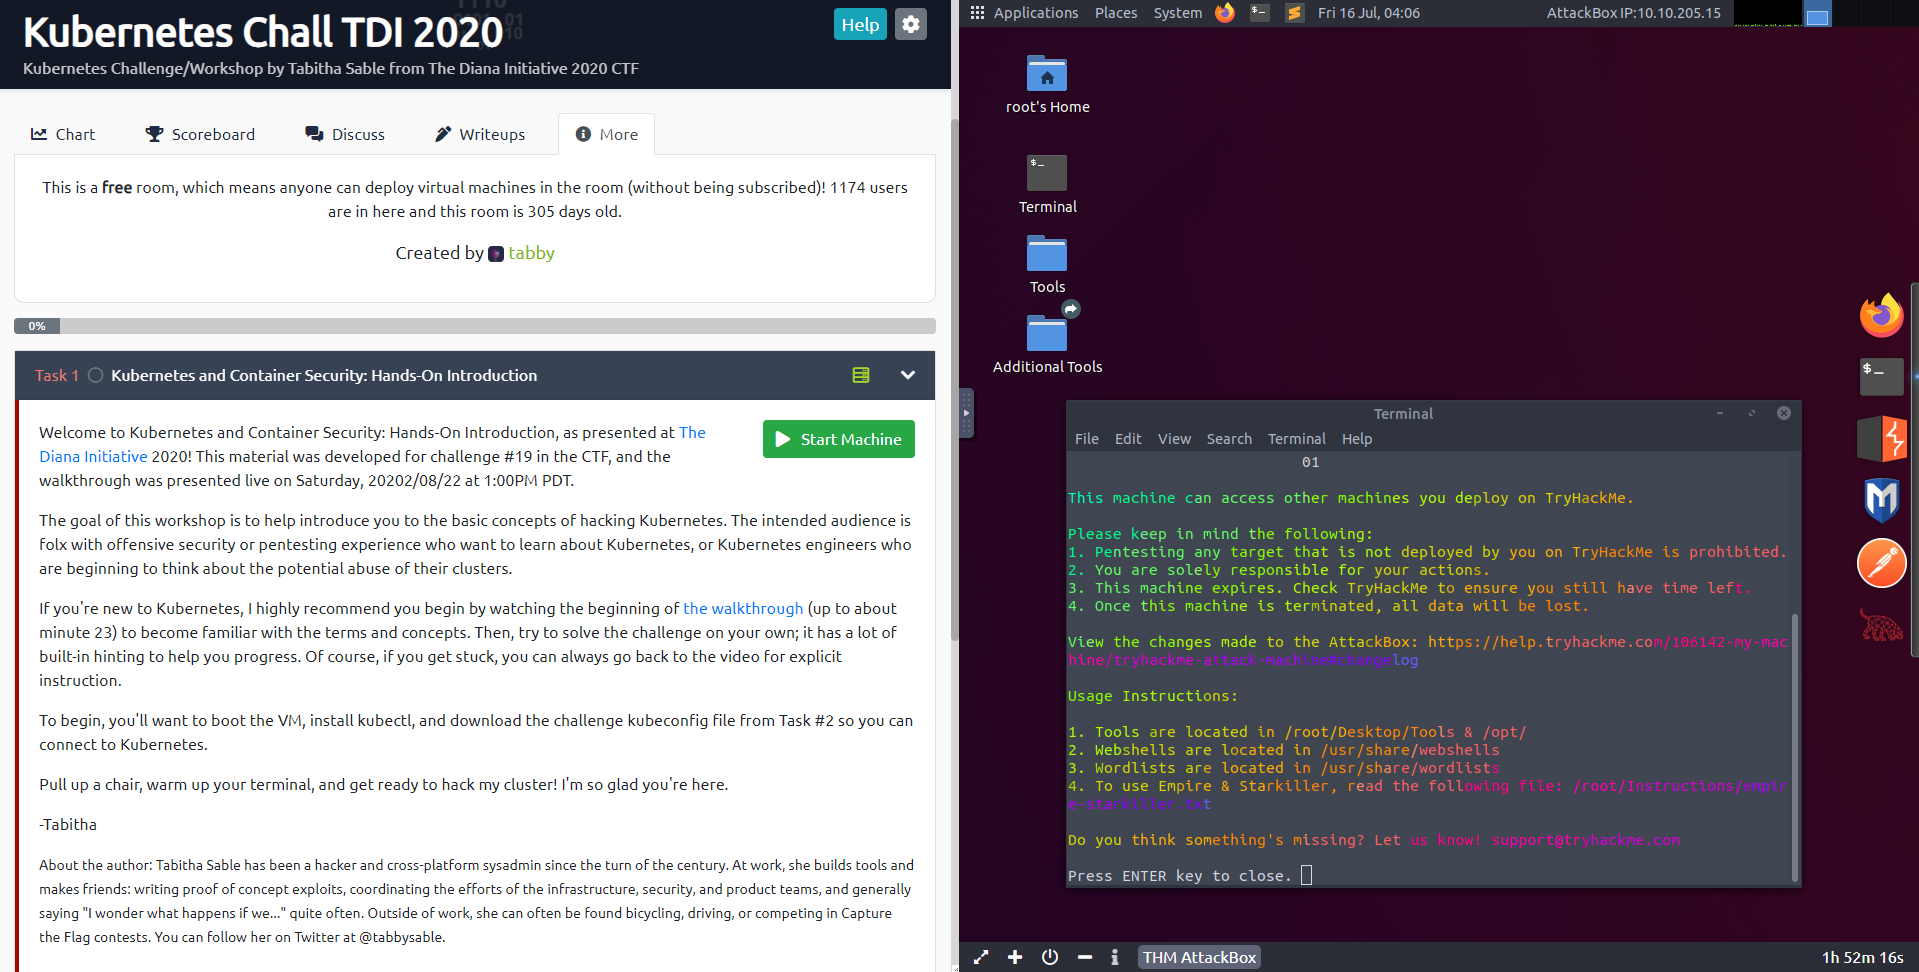
Room Content (Left) beside the THM AttackBox (Right)
The “Pre Security” Pathway!#
THM recently released a “Pre Security” learning pathway, which is a warm introduction into the concepts fundamental to cybersecurity, no matter what your current computer literacy is. Although it says 40 hours to complete, you’re likely not to take nearly as long. It took me about 4 hours, and I was writing this article at the same time. So, let’s see what it looks like!
What does it look like?#
After enrolling in the course, you’ll see that it’s organized into smaller learning modules. Your progress is automatically tracked on the right, and at 100%, you’ll receive a certificate of completion. I’m almost done, so your progress will look slightly different compared to mine.

Pre-Security Learning Path overview
You can click on each module to expand and reveal the individual rooms they contain. Completing each room contributes to the overall completion of the course. There’s no set order to the rooms, so you can tackle them in any order that you like. You can start and stop multiple rooms at once, and that includes rooms outside of this learning pathway. For us however, let’s enter the last room, “Windows Fundamentals 3”.
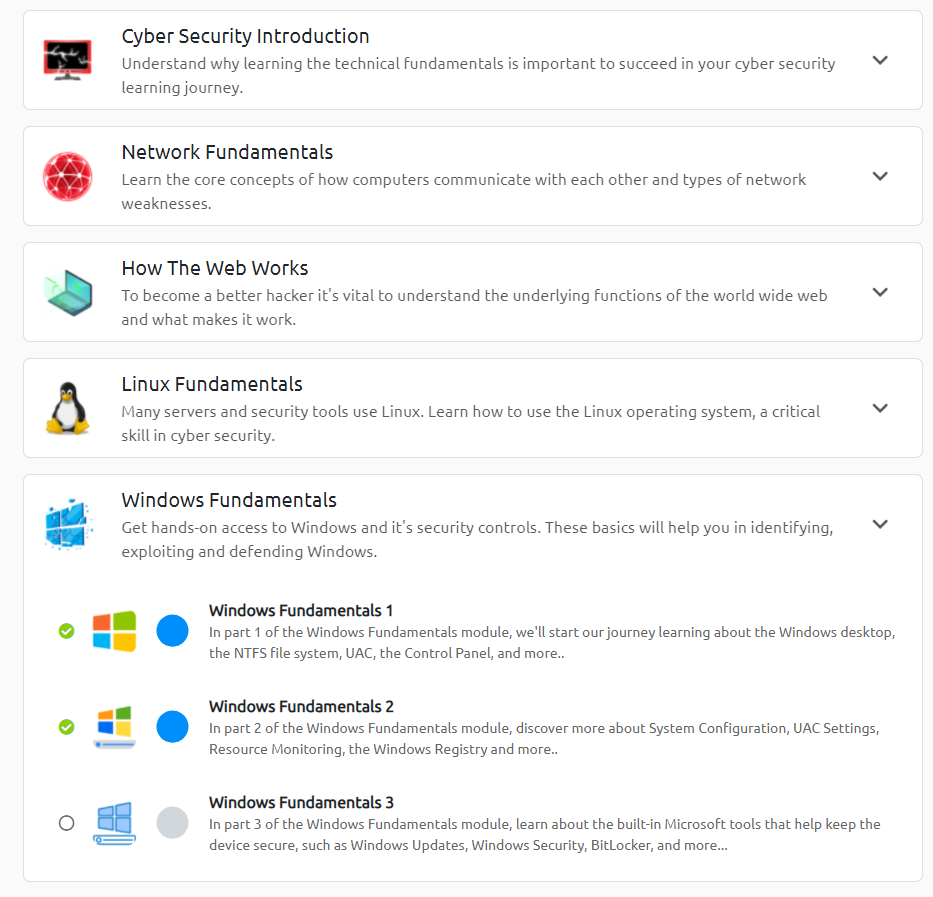
Windows Fundamentals module expanded
A typical room#
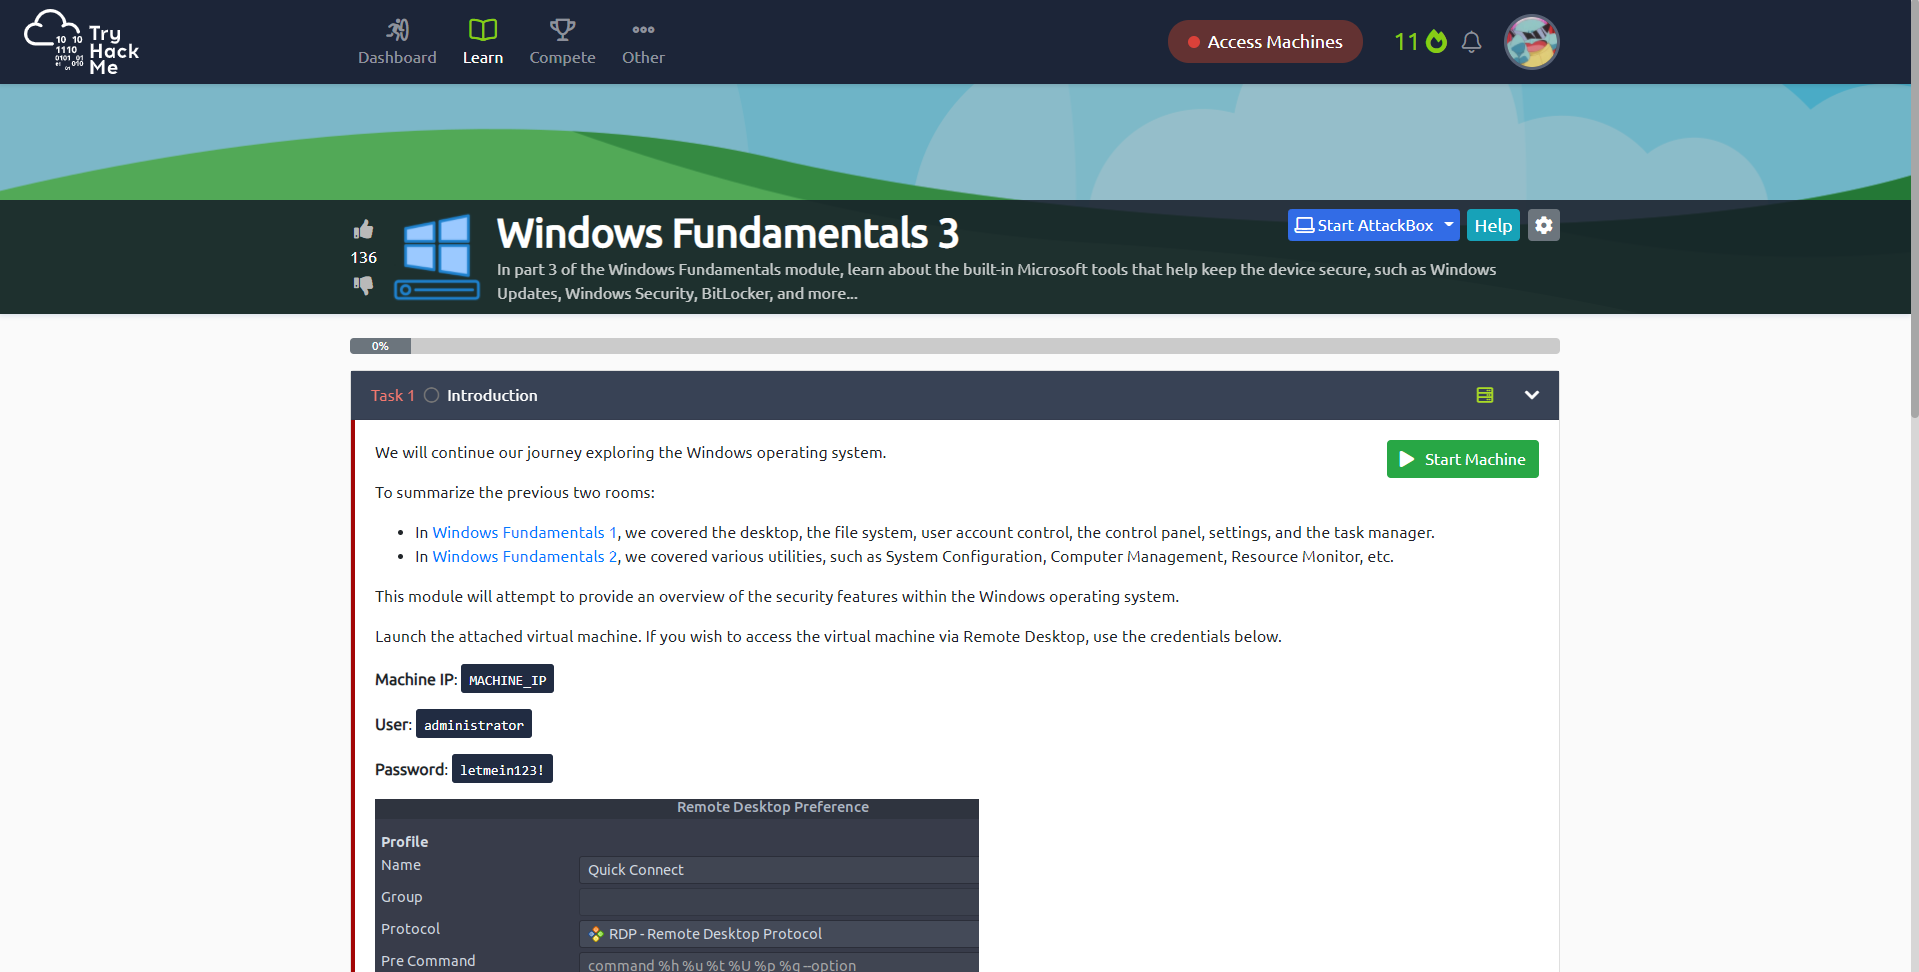
Each room is different, and each has its own set of tasks to complete. These tasks are completed by answering questions that pop up now and again as you progress through the room. This room in particular uses a virtual server, noted by the green icon and “Start Machine” button, and will be used for your learning throughout this room. Not all rooms have virtual servers, and some even have more than one. If you see any, it means that you’ll have to interact with it to get the answers in its room. Questions are fill-in-the-blank, and forgivingly, their format is provided to you.

Example room question
After clicking on “Start Machine”, it will take a minute or two for the server to start up. Since this is a Windows virtual server, it has its own visual display, and you’ll be able to see it and control it alongside your lesson, which is incredibly convenient. You’ll also notice that you’re given a time limit until the machine expires (usually 2 hours). If you’re a premium member, you can extend the time limit as long as you want.
Virtual Server started
Now, you can go learn and play around with the content of the rooms. Once complete, you’re treated to a nice little fanfare.
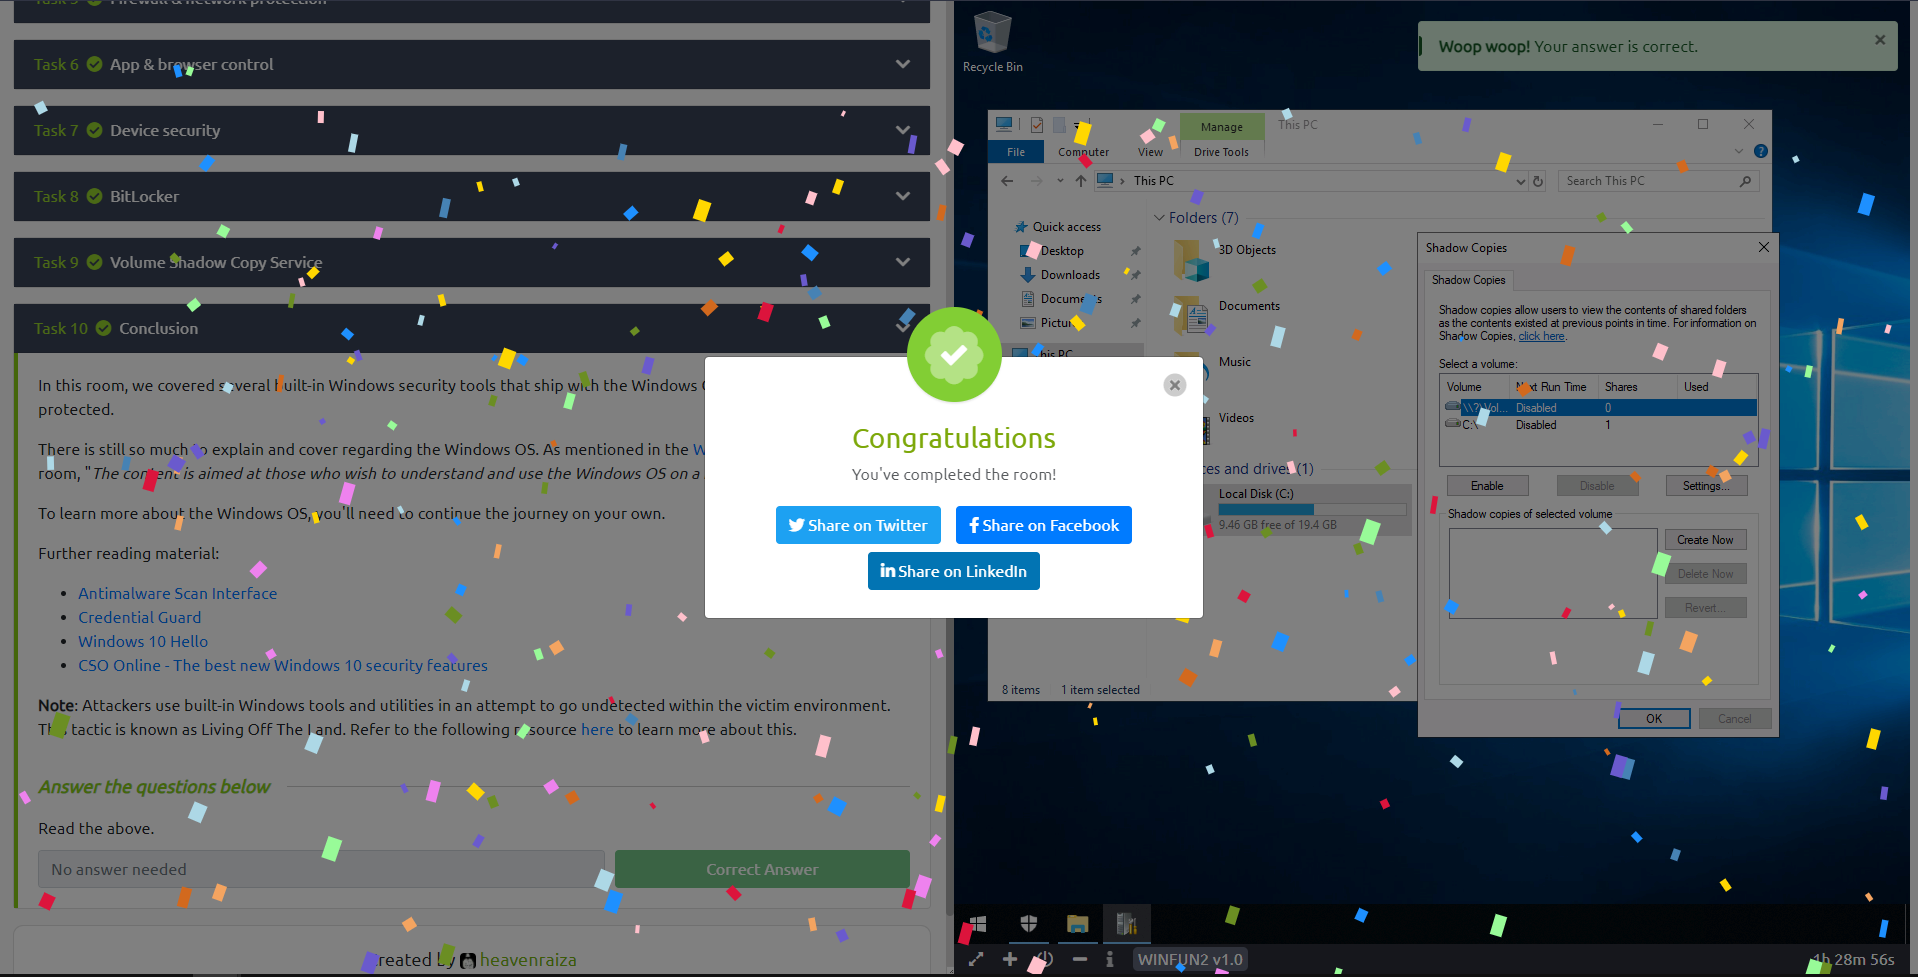
Congratulations!
A few THM hacks …#
VM in New Tab
Something that beginners don’t realize early, is that you can open the virtual machine in a new tab to have a full view of its screen using the expansion button in the bottom left corner in the THM AttackBox. Even more importantly, in this mode, you’ll be able to copy/paste text between your own computer and the virtual machine. This saves you immense pain in CTFs, when some of the answers can be something like:
1(EventCode="8" (SourceImage="*\\System32\\cscript.exe" OR SourceImage="*\\System32\\wscript.exe" OR SourceImage="*\\System32\\mshta.exe" OR SourceImage="*\\winword.exe" OR SourceImage="*\\excel.exe") NOT StartModule="*" TargetImage="*\\SysWOW64\\*")
Typing that search query out by hand is not fun.
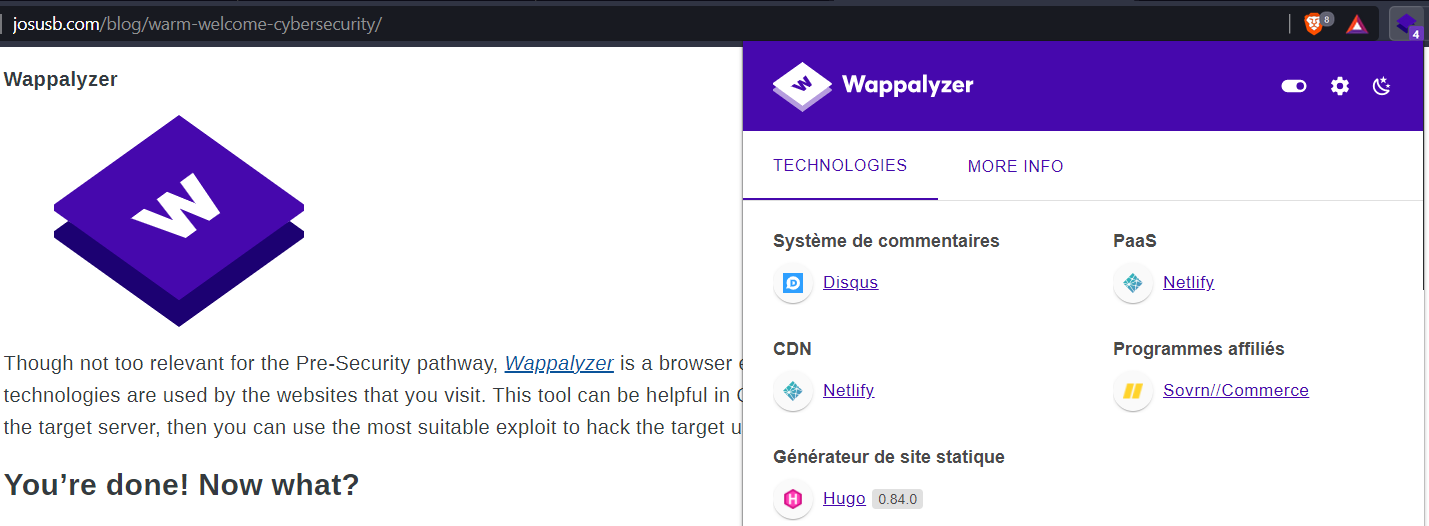
Wappalyzer
Though not too relevant for the Pre-Security pathway, Wappalyzer is a browser extension that allows you to see what technologies are used by the websites that you visit. This tool can be helpful in CTFs to identify any vulnerable tools used on the target server, then you can use the most suitable exploit to hack the target using said vulnerabilities. It’s not just for bad purposes though, and I use it because I’m curious about the different ways websites are built. I mean, here’s what Wappalyzer says about yours truly:
You’re done! Now what?#
Give yourself a pat on the back. You’ve taken your first step into the world of cybersecurity. Before leaving, make sure to download your certificate for the learning pathway. The next step would be the Complete Beginner Pathway. This is where you actually get an opportunity to hack some machines using your base knowledge, and it gets really, really fun. You can also search for individual rooms, and filter to focus on the technology or concepts you please. There are loads of options, but its best not to overthink them all, but just, do. Whatever seems interesting, just try it out. That’s the point of the platform, and it does its job very well.